Basic operation
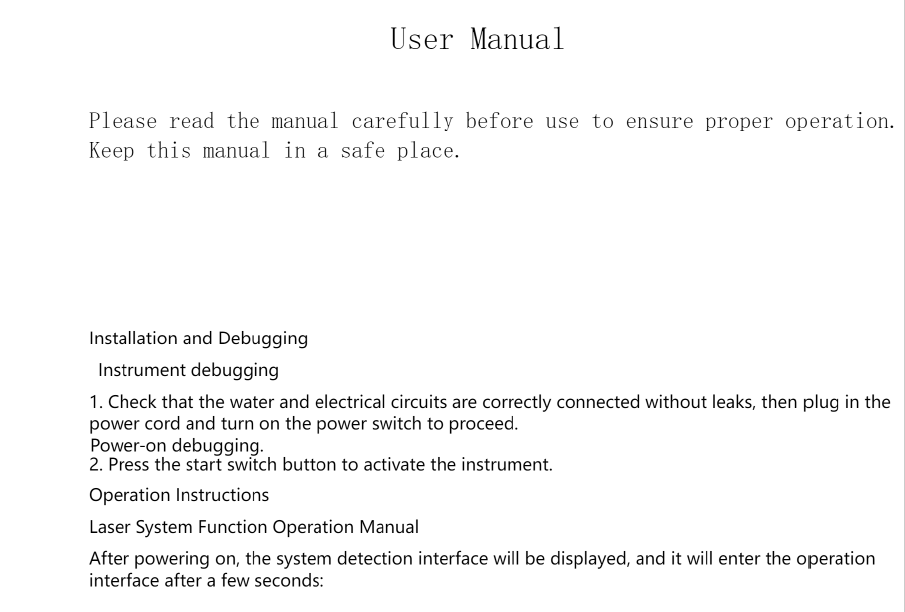
1. Before switching on
- Check the laser, handpiece, cable and power connection.
- Confirm the emergency-stop function is released.
- The treatment room should be controlled so nobody can accidentally enter during laser emission.
- Everyone in the room must use wavelength-appropriate laser safety eyewear. Nd:YAG laser exposure can cause severe or permanent eye injury.
- Remove reflective objects from the treatment area.
- Use appropriate smoke/plume protection and ventilation.
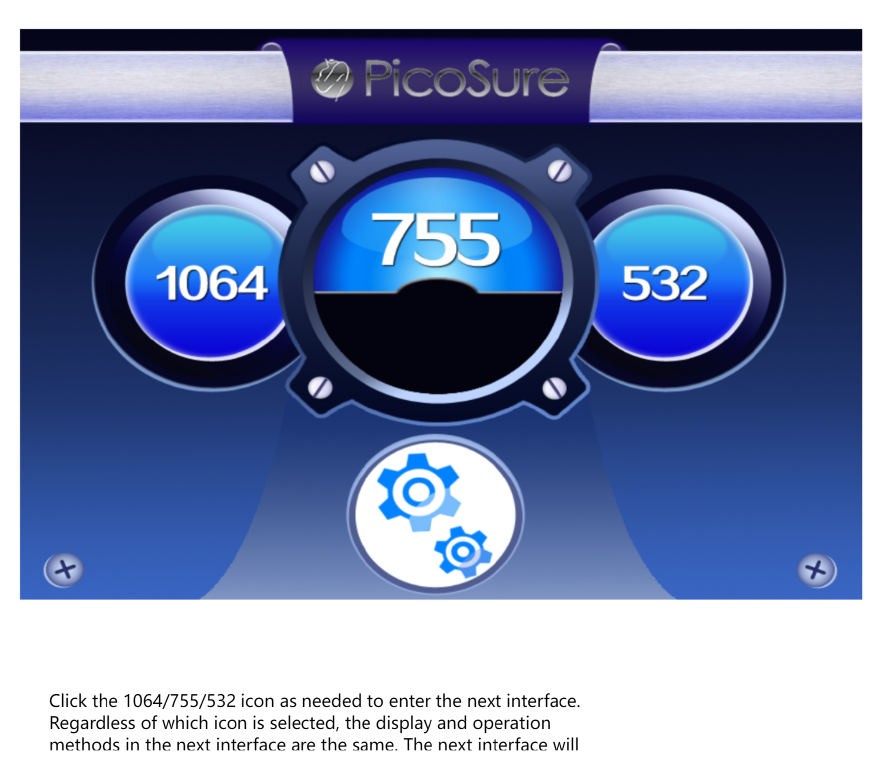
2. Identify the wavelength
If your machine has both:
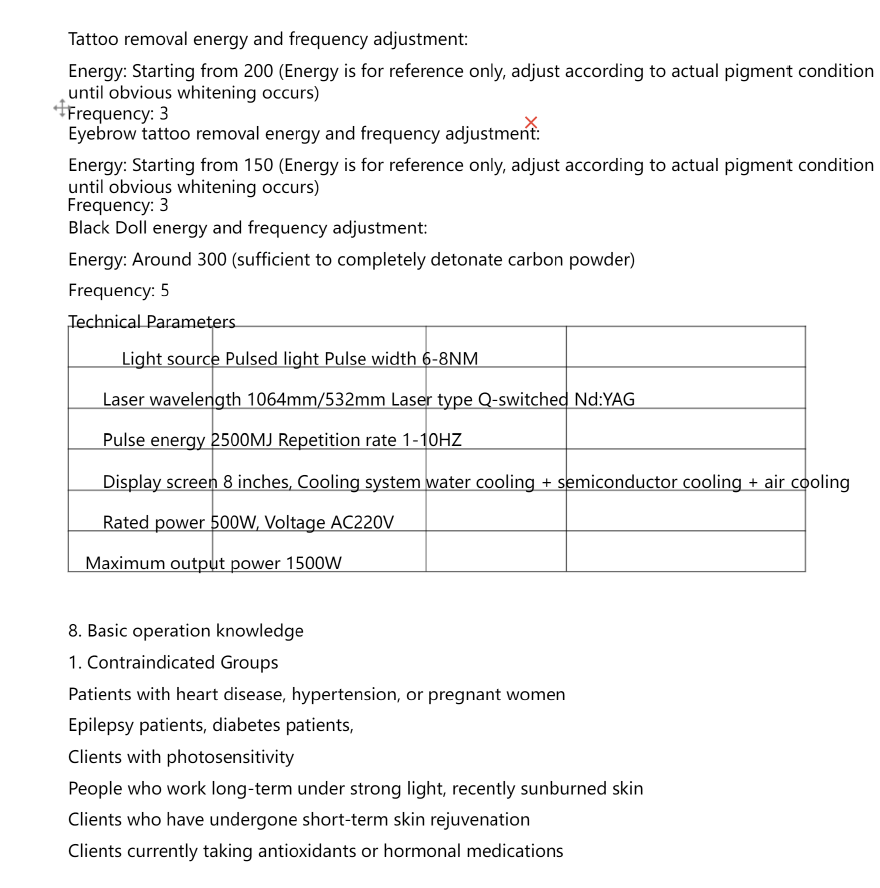
| Wavelength |
Typical tattoo pigments |
| 1064 nm |
Black, dark blue and some brown pigments |
| 532 nm |
Commonly red and some lighter pigments |
This is not universal for every pigment or machine, so use the wavelength indications in your machine's manufacturer manual. FDA-cleared Q-switched Nd:YAG systems commonly specify 1064 nm for dark tattoos and 532 nm for selected lighter/red pigments.
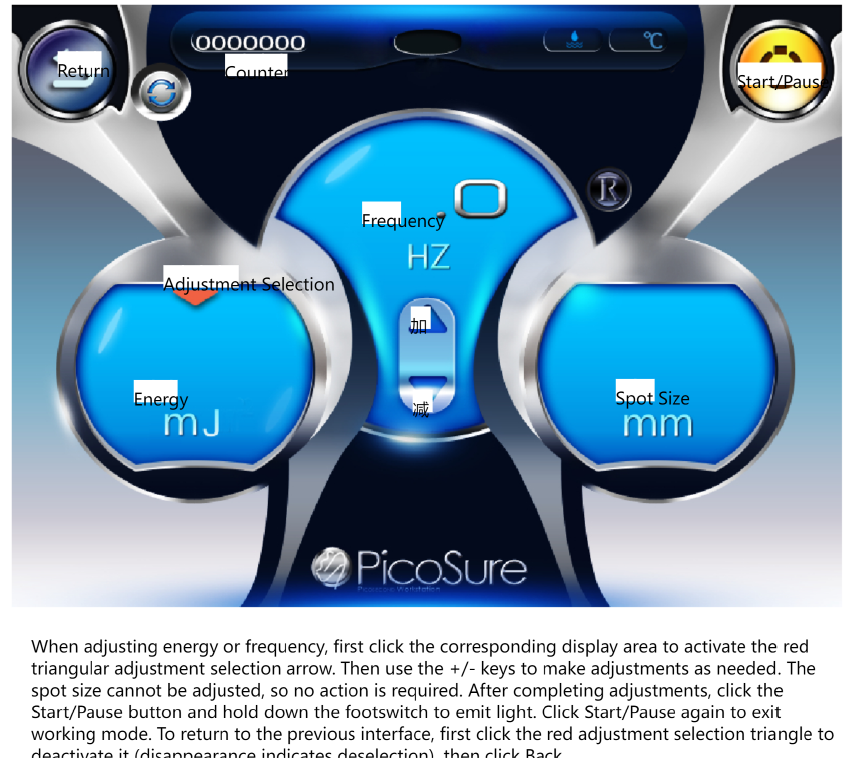
3. On the touchscreen
The exact menu will vary by manufacturer, but you may see:
- Wavelength: 1064 / 532 nm
- Energy / Fluence
- Spot size
- Frequency (Hz)
- Single / Repeat
- Standby / Ready
- Counter
- Footswitch/trigger
I would not recommend entering a particular J/cm, pulse frequency or spot size based only on this photograph. Those values need to match the exact laser model, handpiece/spot size, tattoo pigment, skin type and clinical protocol. Excessive settings can cause burns, blistering, scarring and permanent pigment changes.
During treatment
The basic professional workflow is:
Clean skin photograph/document select correct wavelength select appropriate spot size use manufacturer/clinician protocol test area when appropriate treat systematically cool/protect skin document treatment.
Do not repeatedly fire over the same point. The goal is controlled pigment fragmentation, not burning the skin.
A test spot is particularly useful when treating a new patient or uncertain pigment/skin type.
What you should expect
Immediately after appropriate Q-switched treatment, the area can become white/frosted, red and swollen, and small blisters or pinpoint bleeding can occur. Later, crusting and temporary changes in pigmentation may occur.
Tattoo removal normally requires multiple sessions, because the body gradually clears the fragmented pigment. Complete removal is not always possible.
Important safety warning
Do not use this machine on a person simply by copying settings from another tattoo-removal machine. Different machines can have very different pulse widths, spot sizes, energy ranges and beam profiles.
In particular, overly aggressive settings can cause burning, blistering, infection, scarring, hyperpigmentation or hypopigmentation.
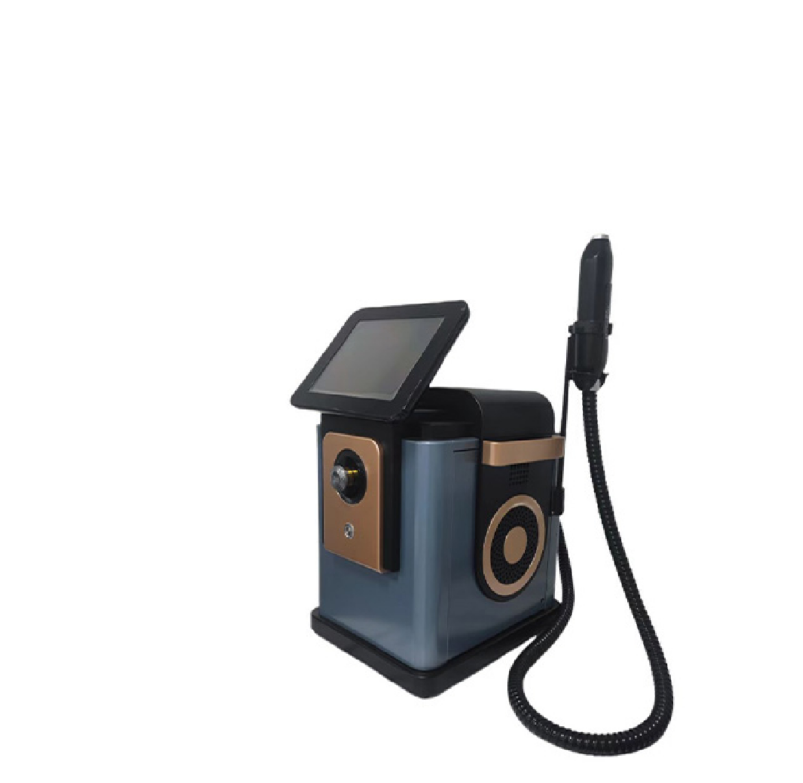
I can identify the controls on your exact machine
Please send me a clear photo of the touchscreen when the machine is switched on.
Also send a photo of:
- the label/sticker on the back or side showing the model,
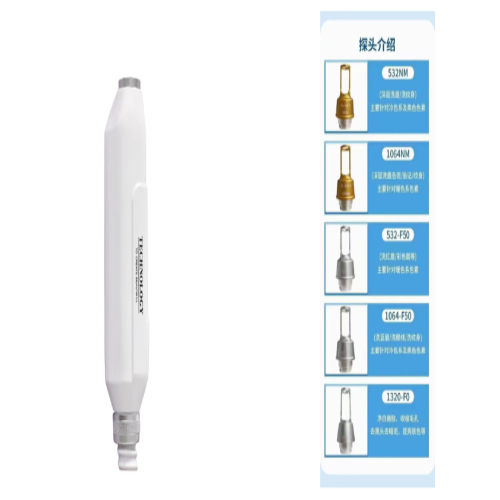
- the handpiece/nozzle, and
- any specification label showing 1064/532 nm, energy, spot size, and pulse width.
Then I can explain each button on your actual screen, including what 1064, 532, ENERGY, Hz, SPOT SIZE, READY/STANDBY and the handpiece controls mean, without guessing the machine's specifications.
 Send Inquiry


 Send Inquiry

 Send Inquiry